Ubuntu LXD LEMP で wordpress を動作させるには
UbuntuのLXD(Linuxコンテナデーモン)を使用してLEMPスタック(Linux、Nginx、MySQL、PHP)でWordPressを動作させるためには、以下のステップを実行する必要があります。以下は、基本的な手順の概要です。すべての手順を実行する前に、必要なリソース(CPU、メモリ、ディスクスペース)を確保しておくことをお勧めします。
LXDのセットアップ
Ubuntuホスト上でLXDをインストールし、初期セットアップを行います
$ sudo snap install lxd
					$ sudo lxd init

Would you like to use LXD clustering? (yes/no) [default=no]:
Do you want to configure a new storage pool? (yes/no) [default=yes]:
Name of the new storage pool [default=default]:
Name of the storage backend to use (lvm, zfs, btrfs, ceph, dir) [default=zfs]:
Create a new ZFS pool? (yes/no) [default=yes]:
Would you like to use an existing empty block device (e.g. a disk or partition)? (yes/no) [default=no]:
Size in GiB of the new loop device (1GiB minimum) [default=19GiB]:
Would you like to connect to a MAAS server? (yes/no) [default=no]:
Would you like to create a new local network bridge? (yes/no) [default=yes]:
What should the new bridge be called? [default=lxdbr0]:
What IPv4 address should be used? (CIDR subnet notation, “auto” or “none”) [default=auto]: 192.168.10.1/16
Would you like LXD to NAT IPv4 traffic on your bridge? [default=yes]:
What IPv6 address should be used? (CIDR subnet notation, “auto” or “none”) [default=auto]:
Would you like the LXD server to be available over the network? (yes/no) [default=no]: yes
Address to bind LXD to (not including port) [default=all]:
Port to bind LXD to [default=8443]:
Would you like stale cached images to be updated automatically? (yes/no) [default=yes]:
Would you like a YAML "lxd init" preseed to be printed? (yes/no) [default=no]: yes
					config:
  core.https_address: '[::]:8443'
networks:
- config:
    ipv4.address: 192.168.10.1/16
    ipv4.nat: "true"
    ipv6.address: auto
  description: ""
  name: lxdbr0
  type: ""
  project: default
storage_pools:
- config:
    size: 19GiB
  description: ""
  name: default
  driver: zfs
profiles:
- config: {}
  description: ""
  devices:
    eth0:
      name: eth0
      network: lxdbr0
      type: nic
    root:
      path: /
      pool: default
      type: disk
  name: default
projects: []
cluster: null
イニシャライザーがいくつかの質問を投げかけるので、必要に応じて回答してください。
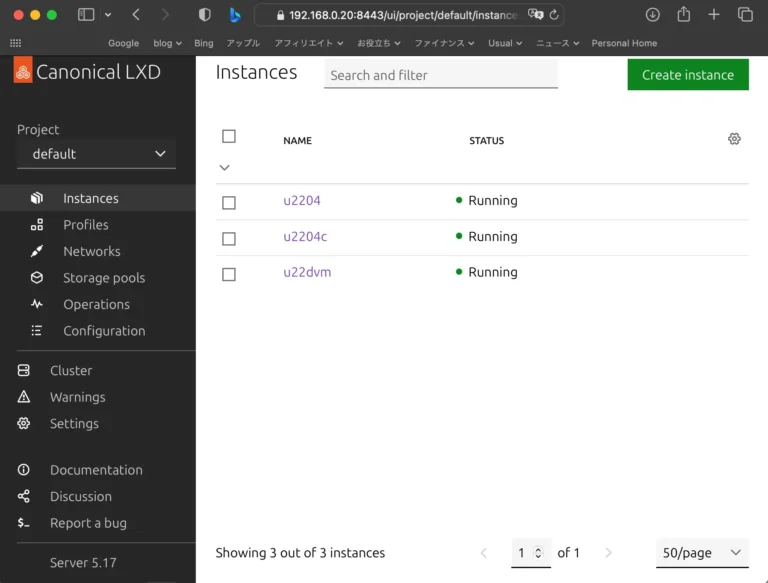
UI環境を有効
UIを有効にすると、WEBブラウザから簡単にインスタンスを作成することができます。
また、設定内容を把握したり、ターミナル操作ができたり、Desktop版を入れればリモートディスクトップができるので、おすすめです。
ただし、v5.17では、ネットワークの設定など、細かな設定はできないようです。


コンテナの作成
WordPressを実行する新しいLXDコンテナを作成します。
コンテナ操作は「lxc」なので注意してください
$ lxc launch ubuntu:22.04 my-wordpress-container
my-wordpress-containerはコンテナの名前で、必要に応じて変更できます。
コンテナへアクセス
コンテナにアクセスして操作を行うために、次のコマンドを使用します。
$ lxc exec my-wordpress-container -- /bin/bash
LEMPスタックのインストール
コンテナ内でLEMPスタックをインストールします。次のコマンドは、Nginx、MySQL(MariaDB)、PHPをインストールする例です。
					# apt update
# apt install nginx mysql-server php-fpm php-mysql
インストールプロセス中に、MySQLのルートパスワードを設定するプロンプトが表示されます。必ずパスワードを記録してください。
WordPressのダウンロードと設定
WordPressをダウンロードし、Nginxの設定を行います。WordPressの公式ウェブサイトから最新のWordPressをダウンロードし、DocumentRootディレクトリに展開します。
					# cd /var/www/html
# wget https://wordpress.org/latest.tar.gz
# tar -xzvf latest.tar.gz
# mv wordpress/* .
WordPressの設定ファイルを作成します。
					# cp wp-config-sample.php wp-config.php
# nano wp-config.php
Nginxの設定
NginxのVirtual Host設定を行います。Nginxの設定ファイル、ここでは wordpress-siteを作成・編集します。
# vi /etc/nginx/sites-available/wordpress-site
以下のように設定します。
					server {
    listen 80;
    server_name your_domain.com;

    root /var/www/html;
    index index.php index.html index.htm;

    location / {
        try_files $uri $uri/ /index.php?$args;
    }

    location ~ \.php$ {
        include snippets/fastcgi-php.conf;
        fastcgi_pass unix:/var/run/php/php7.4-fpm.sock;
    }

    location ~ /\.ht {
        deny all;
    }
}
Nginxの設定の有効化:
Nginxの設定を有効にします。
# ln -s /etc/nginx/sites-available/worpress-site /etc/nginx/sites-enabled/
ln -s : シンボリックリンクを作る
unlinck : リンクを削除する時には
Nginxの再起動
設定ファイルが正しいか確認してから、Nginxを再起動して変更を反映します。
					# nginx -t
nginx: the configuration file /etc/nginx/nginx.conf syntax is ok
nginx: configuration file /etc/nginx/nginx.conf test is successful
# systemctl restart nginx

